Cases
Case management allows you to create and manage your Case types, Contact methods, Priorities, Closure reasons and Tags. These are used when leaving a case note or interaction in a customer’s account.
Applies to roles:
System Administrator System Administrator (NO CRM)These options allow you to categorise the customer interactions, which you can use for Case inboxing and prioritisation as well as reporting.

To view and setup Case Management:
- Click Configuration
- Click Case Management
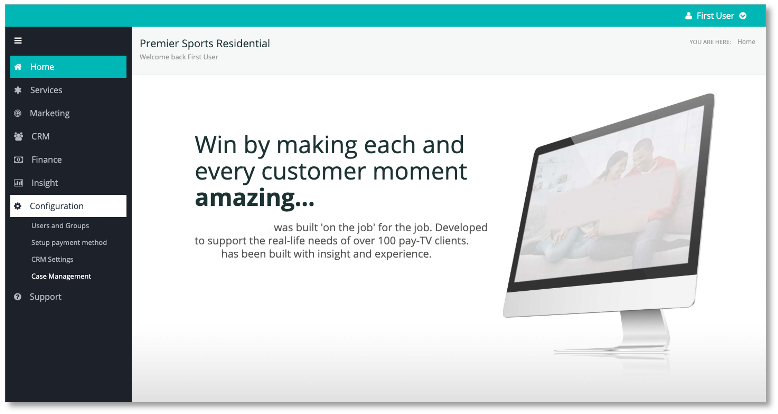
The Manage Case option screen will appear:
This will display any existing Case Types in a table

There are options along the top for:
- Manage Contact Methods
- Manage Priorities
- Manage Closure Reasons
- Manage Case Tags

This will display any existing Case Types in a table

There are options along the top for:
- Manage Contact Methods
- Manage Priorities
- Manage Closure Reasons
- Manage Case Tags
Create and Manage Case types
Creating Case types allows you to categorise the reason a customer has been in contact with you

An example could be Sales, General Enquiry, Billing etc.
To create a Case Type:
- Click + Add Case Type on top right corner

-
A Manage Case Type window will appear, enter the Case Type Name and select the Active status for the Case type
-
Click Confirm to save
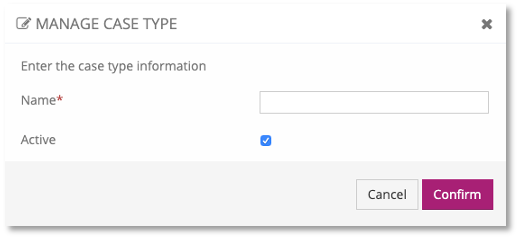
A Success confirmation message will appear on the screen
The Case Type you’ve created will appear in the Case Types table:

To edit the Case type click the ‘pen’ icon
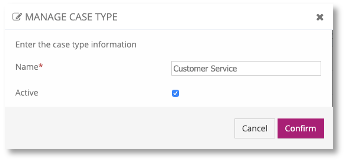
To deactivate the Case type click the ‘cross’ icon

To add a sub type to the Case type click the ‘+’ icon
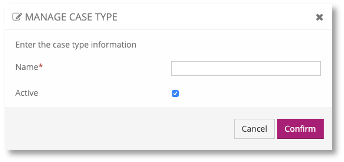
Add a Case sub type to a Case type
Adding a Case Sub Type allows you to further categorise the reason why a customer has contacted you

To setup a Case Sub Type:
- Click the ‘+ icon’ on the Case Type in the Case types table

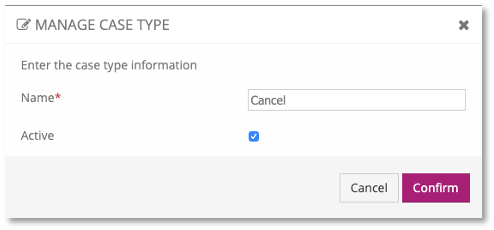
- Enter a name for the Sub Type
- Choose the Active status
- Click Confirm to save
A confirmation message will appear on the Case Management screen
View the Case sub type associated with a Case type
To view the Case Sub type associated with a Case type:

- In the Case Types field, click the ‘+’ button on the left side of the Case Type to expand the field and populate the Case Sub Type table

- Here you can see the:
- Case Sub Type Name
- Status
- Creation date
- Modified date
- Actions; options to edit or deactivate

Manage Closure Reasons
You can create or edit your case closure reasons – this will be the outcome to the customer interaction e.g. What was done to resolve the query/issue.
To create or edit a Closure Reason:
- Click the Manage Closure Reasons button:

- The Manage Case Closure Reasons section will appear:
Any existing Closure Reasons will appear in the table. These can be edited or activated/deactivated using the icons on the right of the table

- Click + Add Closure Reason button. The Manage Closure Reason window will appear:
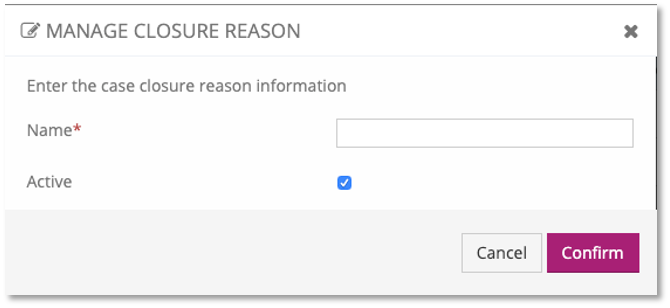
- Enter a name for the Closure Reason
- Choose the Active status
- Click Confirm to save
A confirmation message will appear on the Case Management screen
Manage Case priorities
You can create or edit your case priorities. This will allow you to make cases with different levels of priorities allowing you to filter and action them in an order to suit your business processes.

To create or edit Case Priorities:
- Click the Manage Priorities button:

- The Manage Priorities Reasons section will appear:
Any existing Priorities will appear in the table. These can be edited or activated/deactivated using the icons on the right of the table

- Click + Add priority button. The Manage Priority window will appear:
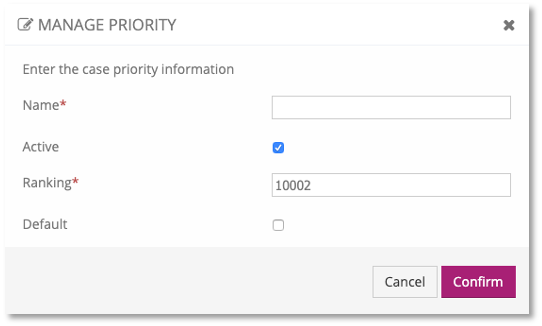
- Enter a name for the Priority
- Choose the Active status
- Choose the ranking status against other priorities
- Choose whether it is the default option in the form
- Click Confirm to save
A confirmation message will appear on the Case Management screen
Manage Contact Methods
You can create or edit your case contact methods. This allows you to get insight on how a customer has been in contact with you and can help with future insight and marketing campaigns.

To create or edit Contact Methods:
- Click the Manage Contact Methods button:

- The Manage Contact Methods section will appear:
Any existing Contact Methods will appear in the table. These can be edited or activated/deactivated using the icons on the right of the table

- Click + Add Contact Method button. The Manage Contact Method window will appear:
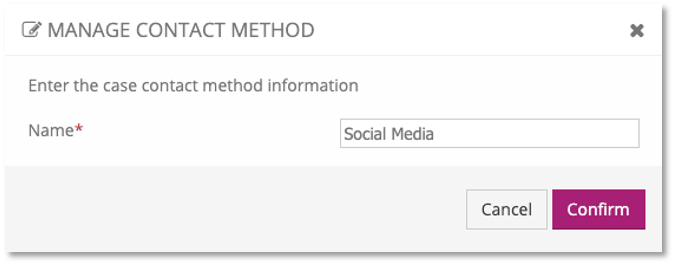
- Enter a name for the Contact Method
- Click Confirm to save
A confirmation message will appear on the Case Management screen
Updated 6 months ago
