Customer cases
Applies to roles:
System Administrator Customer Service Sales Agent FinanceCases and Inboxes provide a flexible framework for managing Customer engagement, issue resolution and workflow.
Cases are system ‘tickets’ that are raised against a Customer Account and stored in the Cases section.
These can be used stand alone, for example as a record of customer contact eg ‘the Customer called to discuss an upgrade to their subscription’ or the case can be added to an Inbox workflow.
Create a Case
- Click the Add on the Cases area:

Fill in the details of the interaction as described below:

- Case type – Select the reason for the customer’s interaction from the drop down list;
- Sub case type – Select a sub type from the drop-down list, this is used to further define the Case Type described above;
- Case Tag – Select a tag for then call if applicable
- Case Subject – Briefly describe what the interaction is about;
- Case Description – Provide more detail about the interaction, this will help out if the customer contacts again;
- Deadline – Select a date from the calendar;
- Status – Select whether the case is open (unresolved) or closed (resolved);
- Priority – Select whether the case is ‘Normal’ or ‘Urgent’ from the drop down.
- Contact method – Select how the customer got in contact with you
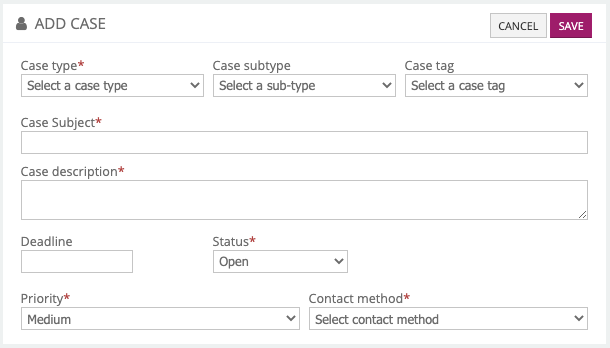
- Select Save
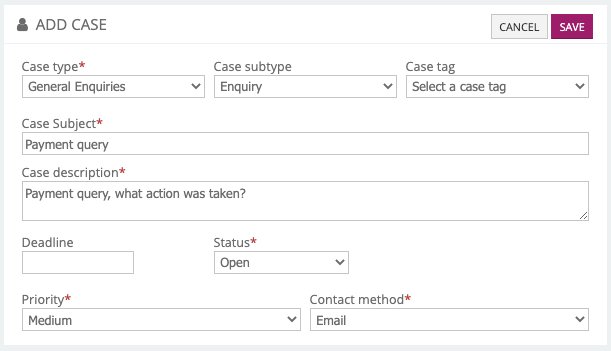
The Case will appear in the cases table.
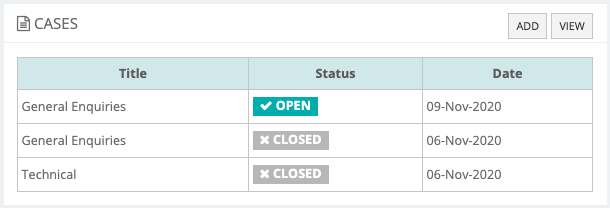
Add a note to an existing case
- Select View in the cases area
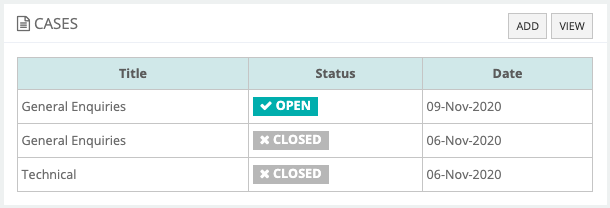
- Located the case in the timeline view. You will see information on it's creation as well as the name of the person who created it and whether the note is open or closed.
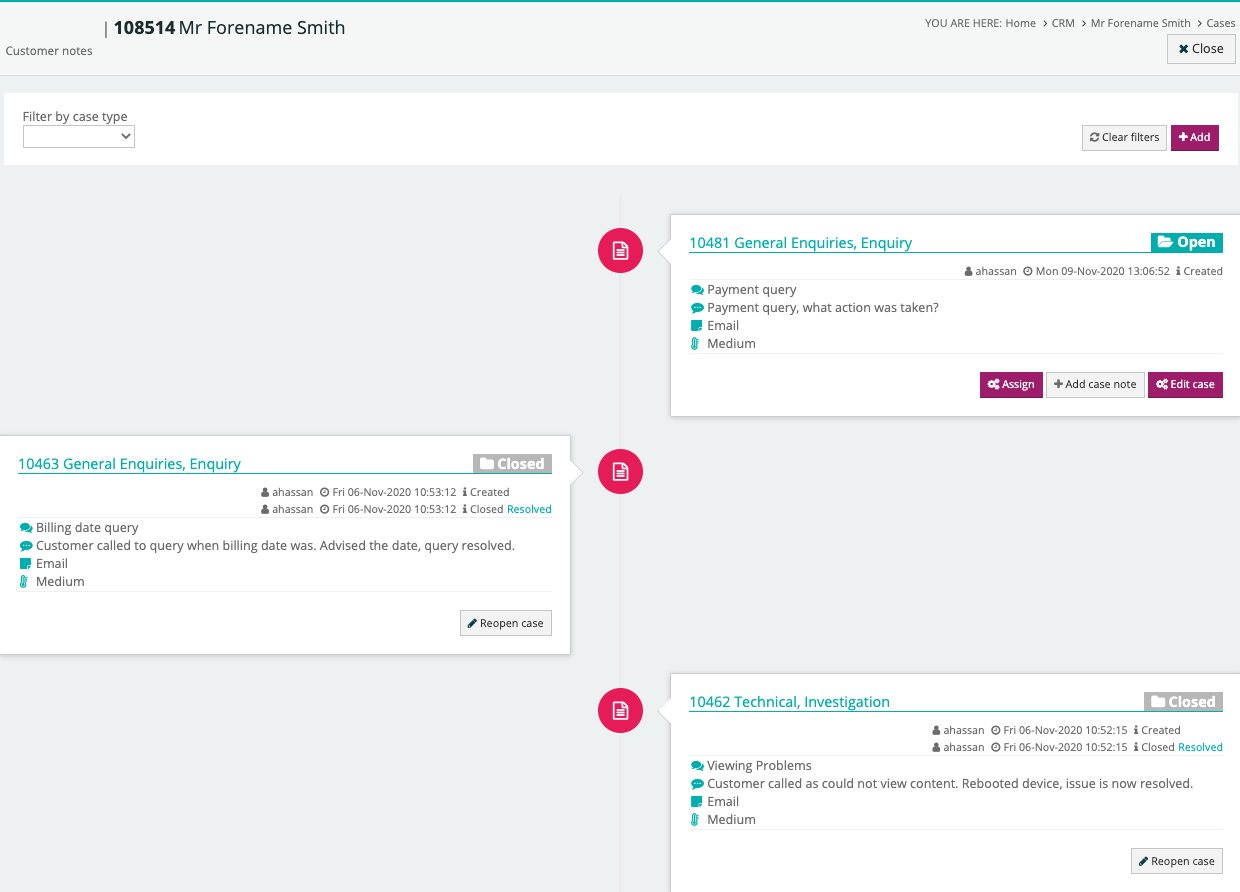
- Select Add case note button
Note – For a closed case, simply re-open the case to allow further notes to be added (re-opening cases is subject to your user role)
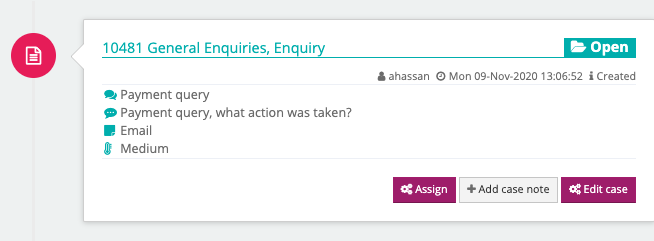
Add case note button displayed
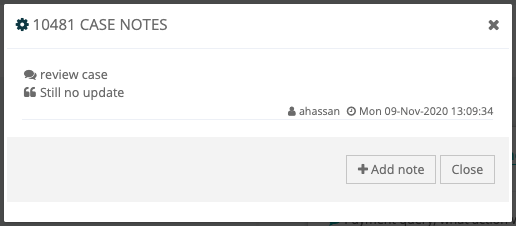
- Complete the subject and description
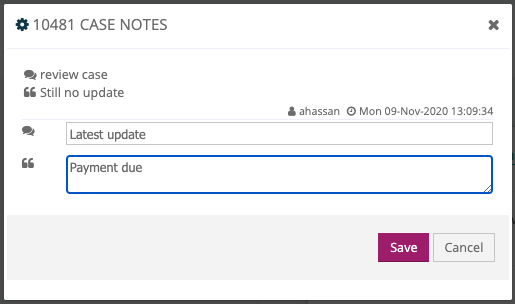
Note: If Add case note was selected then the Add Case Notes window will appear containing a case subject field and case notes field, complete these to add you new case notes:
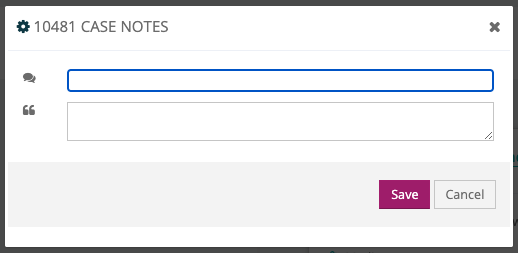
- Select Save
The case notes have now been saved and can be viewed by selecting View case notes

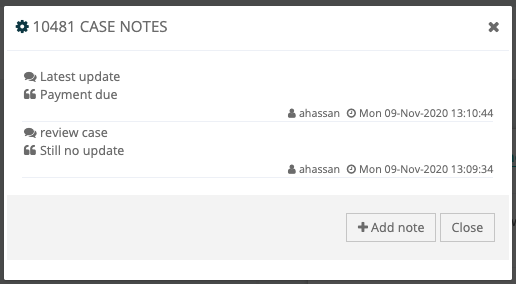
Edit an existing case
You can edit a case once it’s been created. This allows you to amend any fields that were completed when the case was created.
- Click the Edit case button
Note – For a closed case, simply select re-open case to allow editing (subject to user access role)
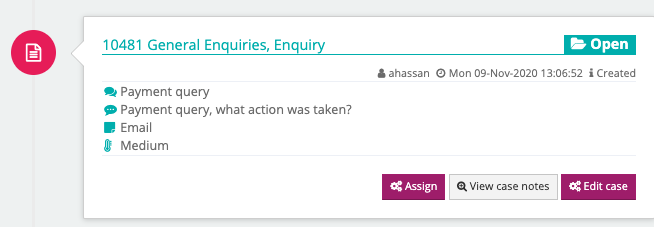
- Complete your changes to the case
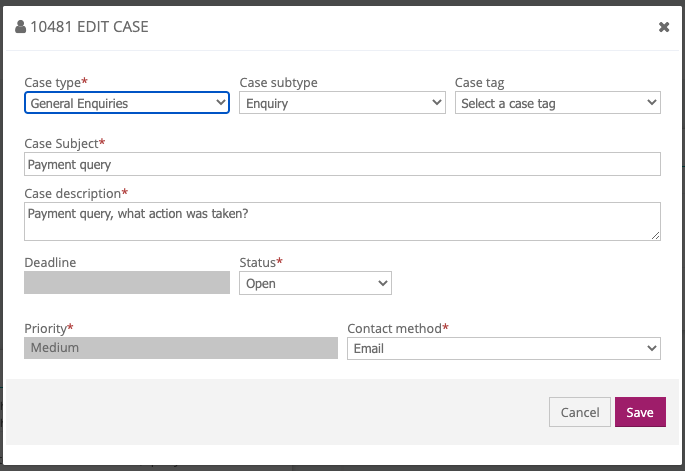
- Select Save to confirm your changes.
Filter Case Types
All the cases are displayed in a timeline view. This shows detail of the case including the date and a brief description.
You can filter the cases to find a case faster by selecting filter by case type from the drop down box available:

Updated 6 months ago
