Manage inbox messages
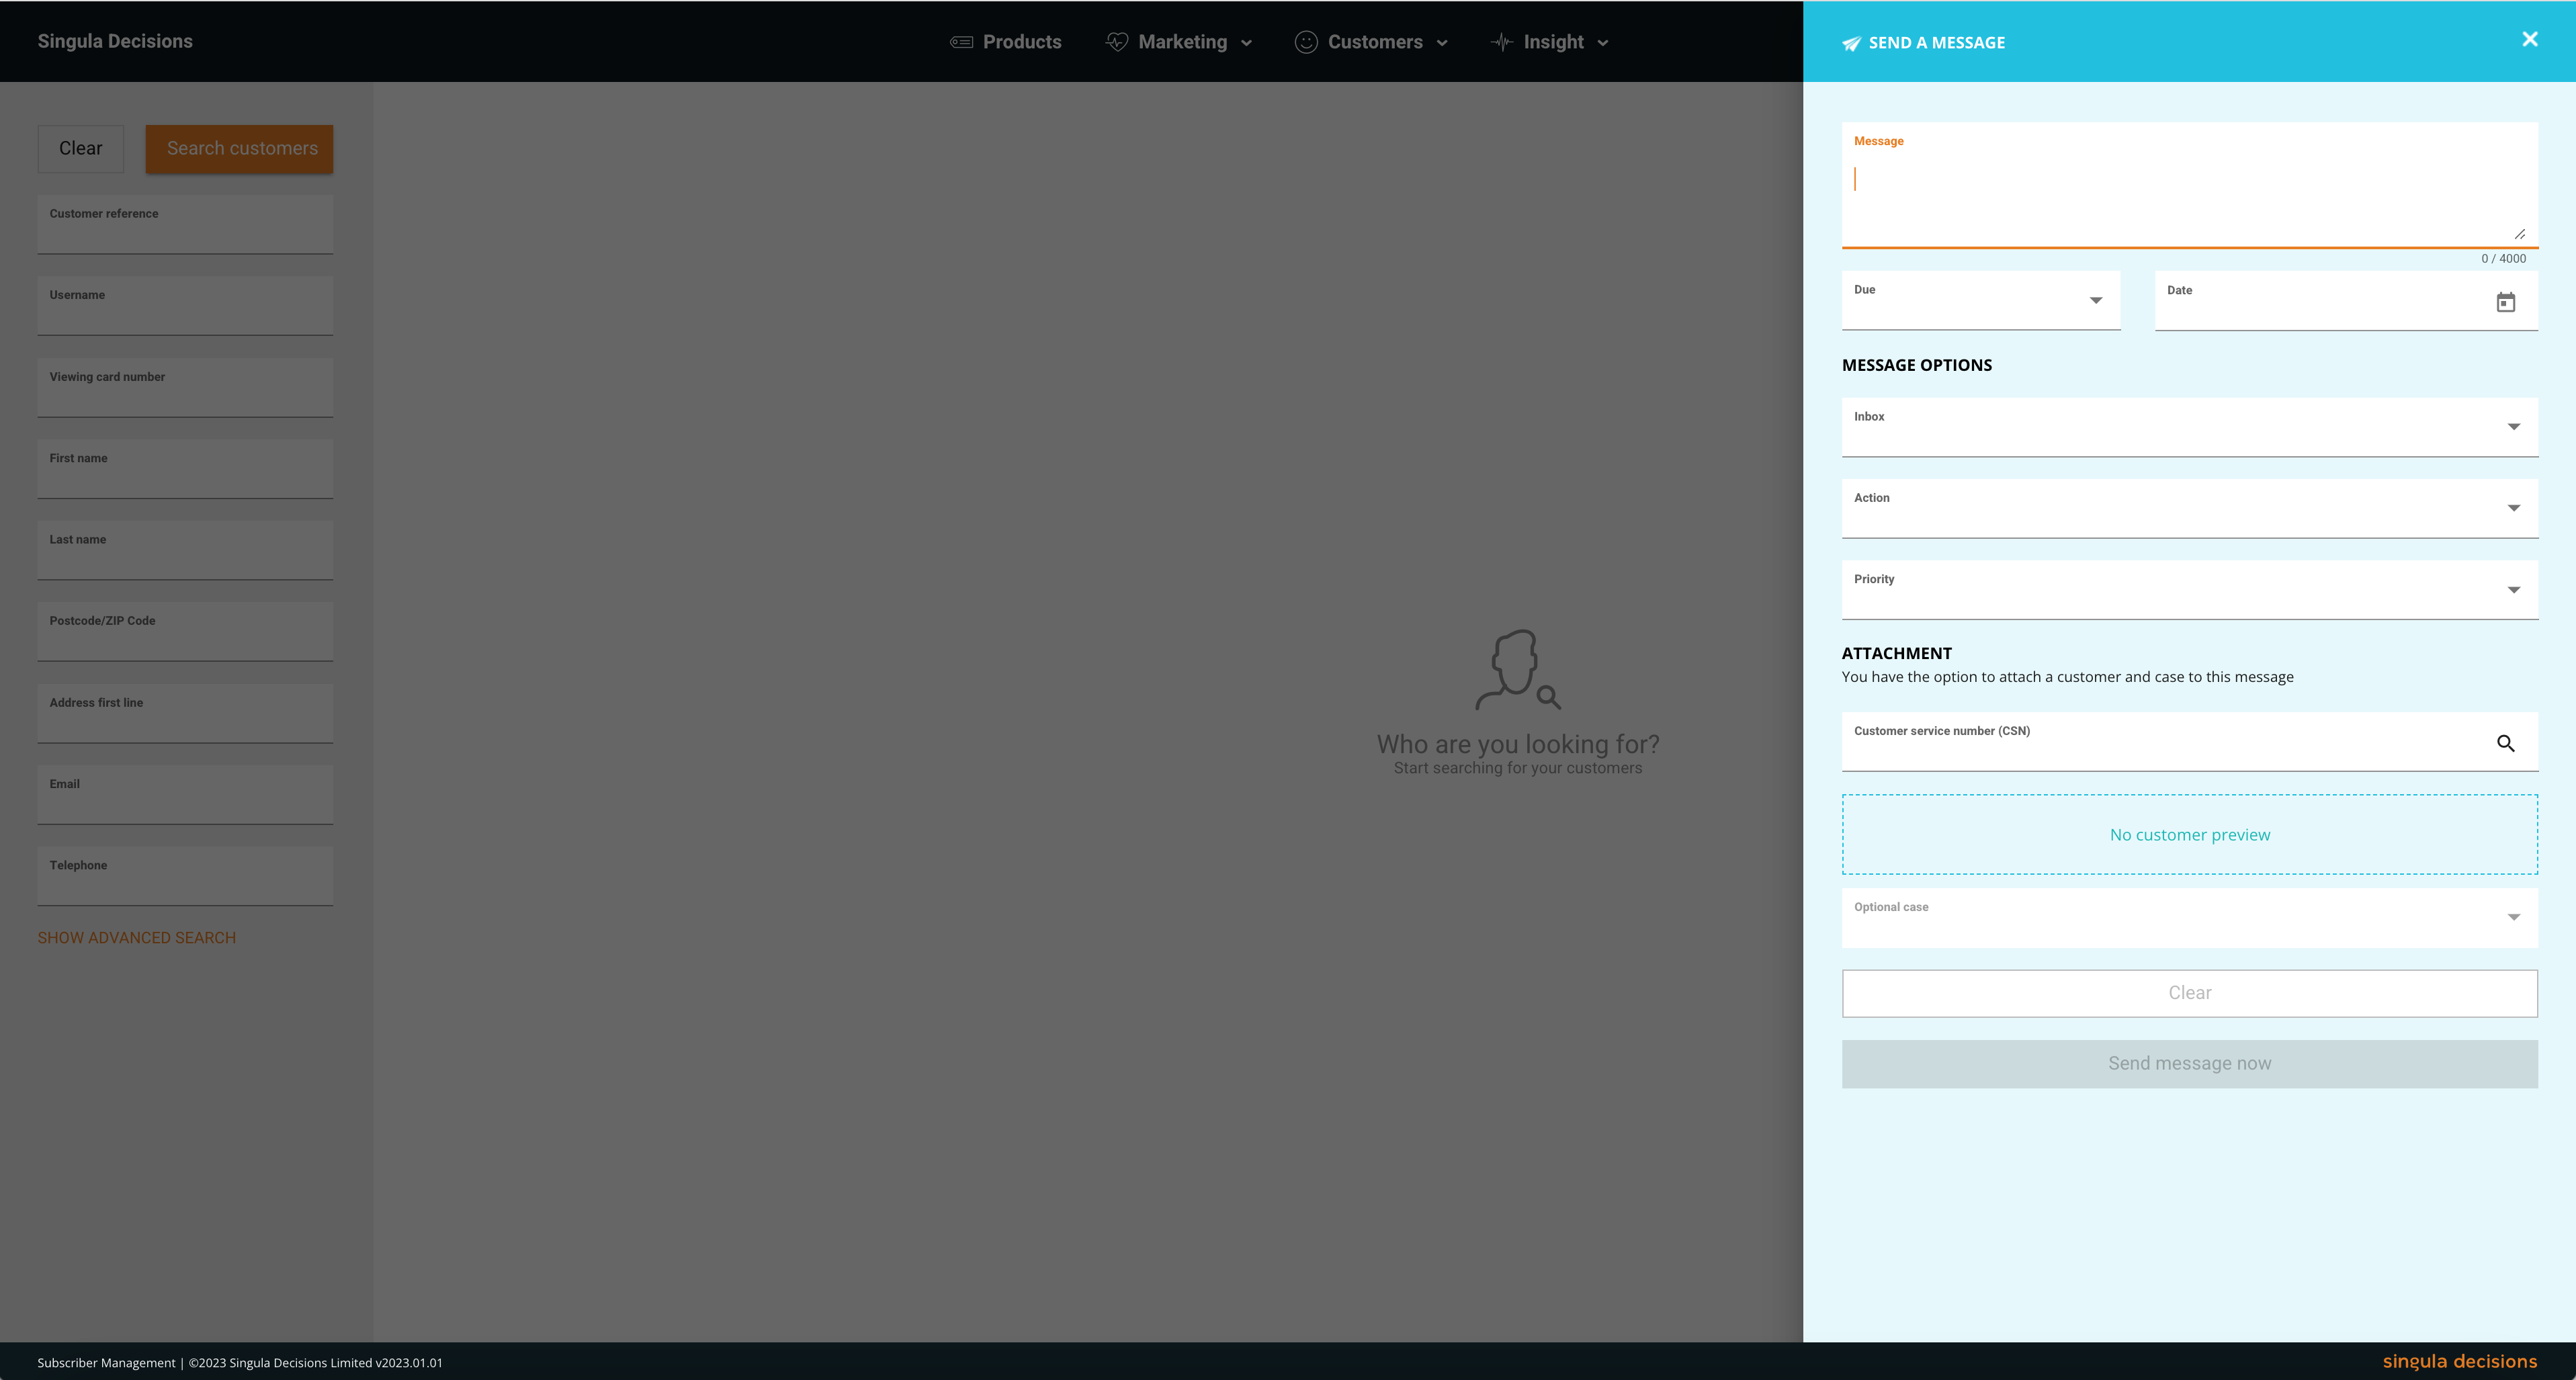
Create new inbox message
- You can select the 'paper plane' icon throughout the application. Selecting this icon reveals the 'Send message' panel at the side of the page
- Complete the fields on the form. All mandatory fields must be completed before the 'Send message' button becomes available.
- You have the option to attach either a customer or a case to a message. This ensures that when the message is assigned, the user has all the relevant information to effectively support the customer
- Once completed, select the 'Send message now' button to send your message to the selected inbox.
View inbox messages
- Select the 'My messages' from the profile menu. The badge indicates the number of messages assigned to you.
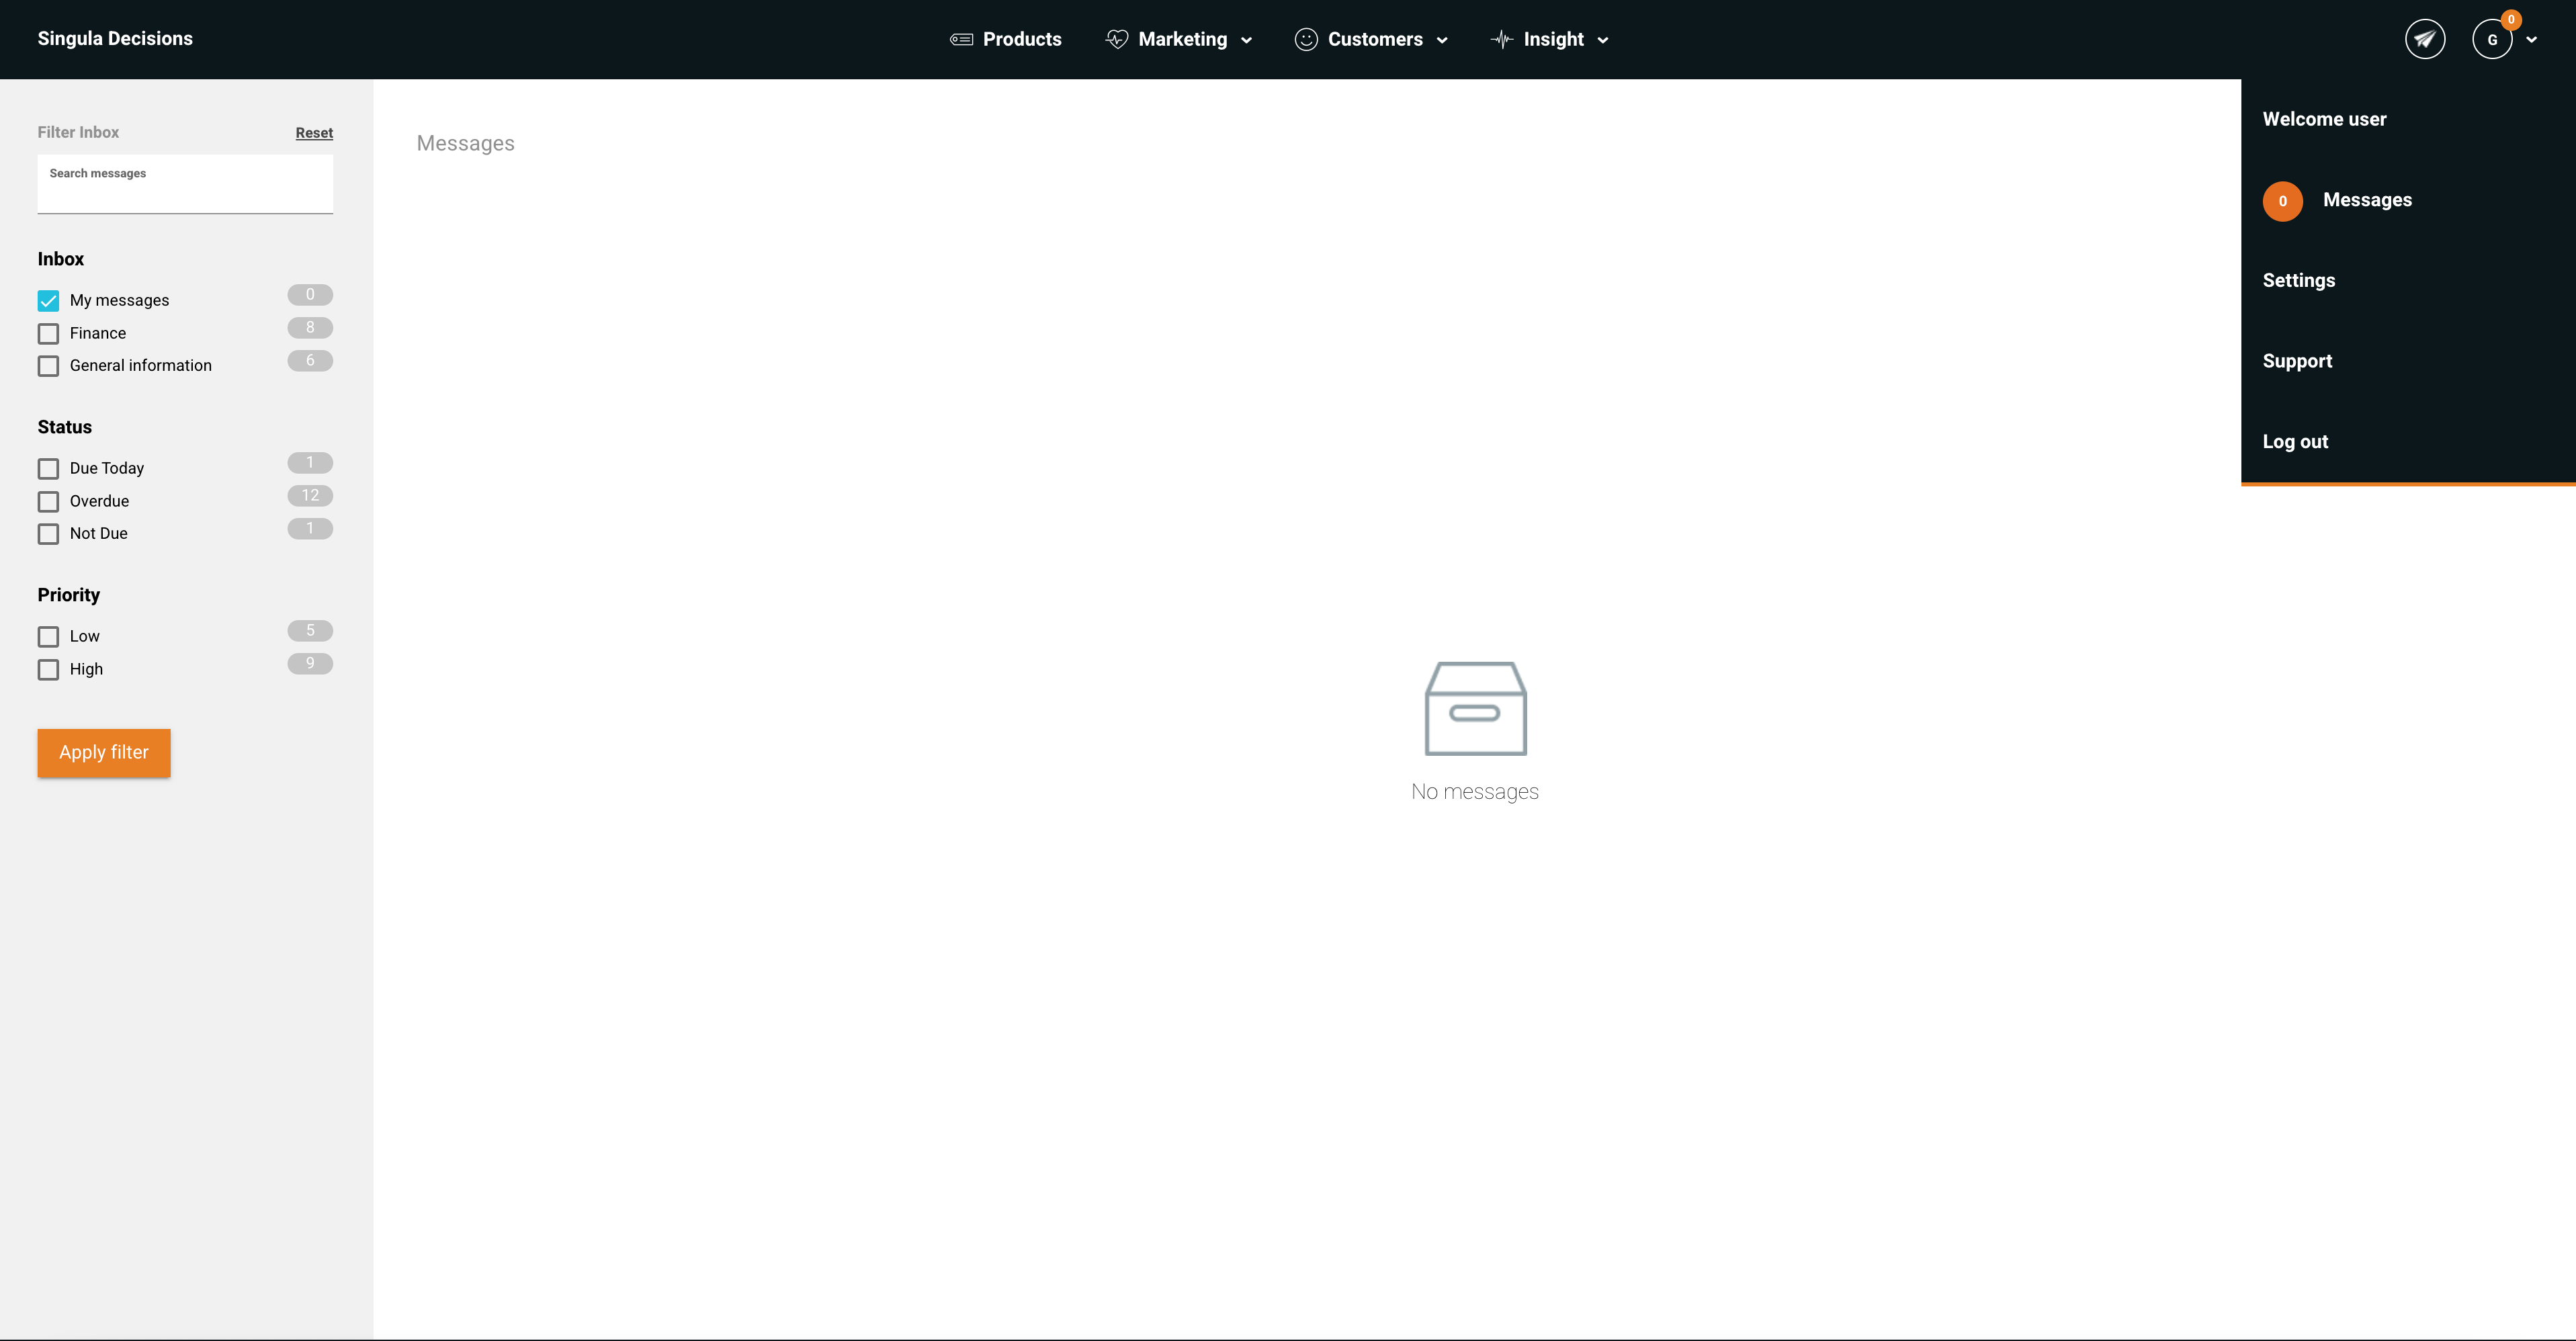
- You have the option to filter the list of messages using the inbox filter. Selecting one or a combination of options allows you to customise your view
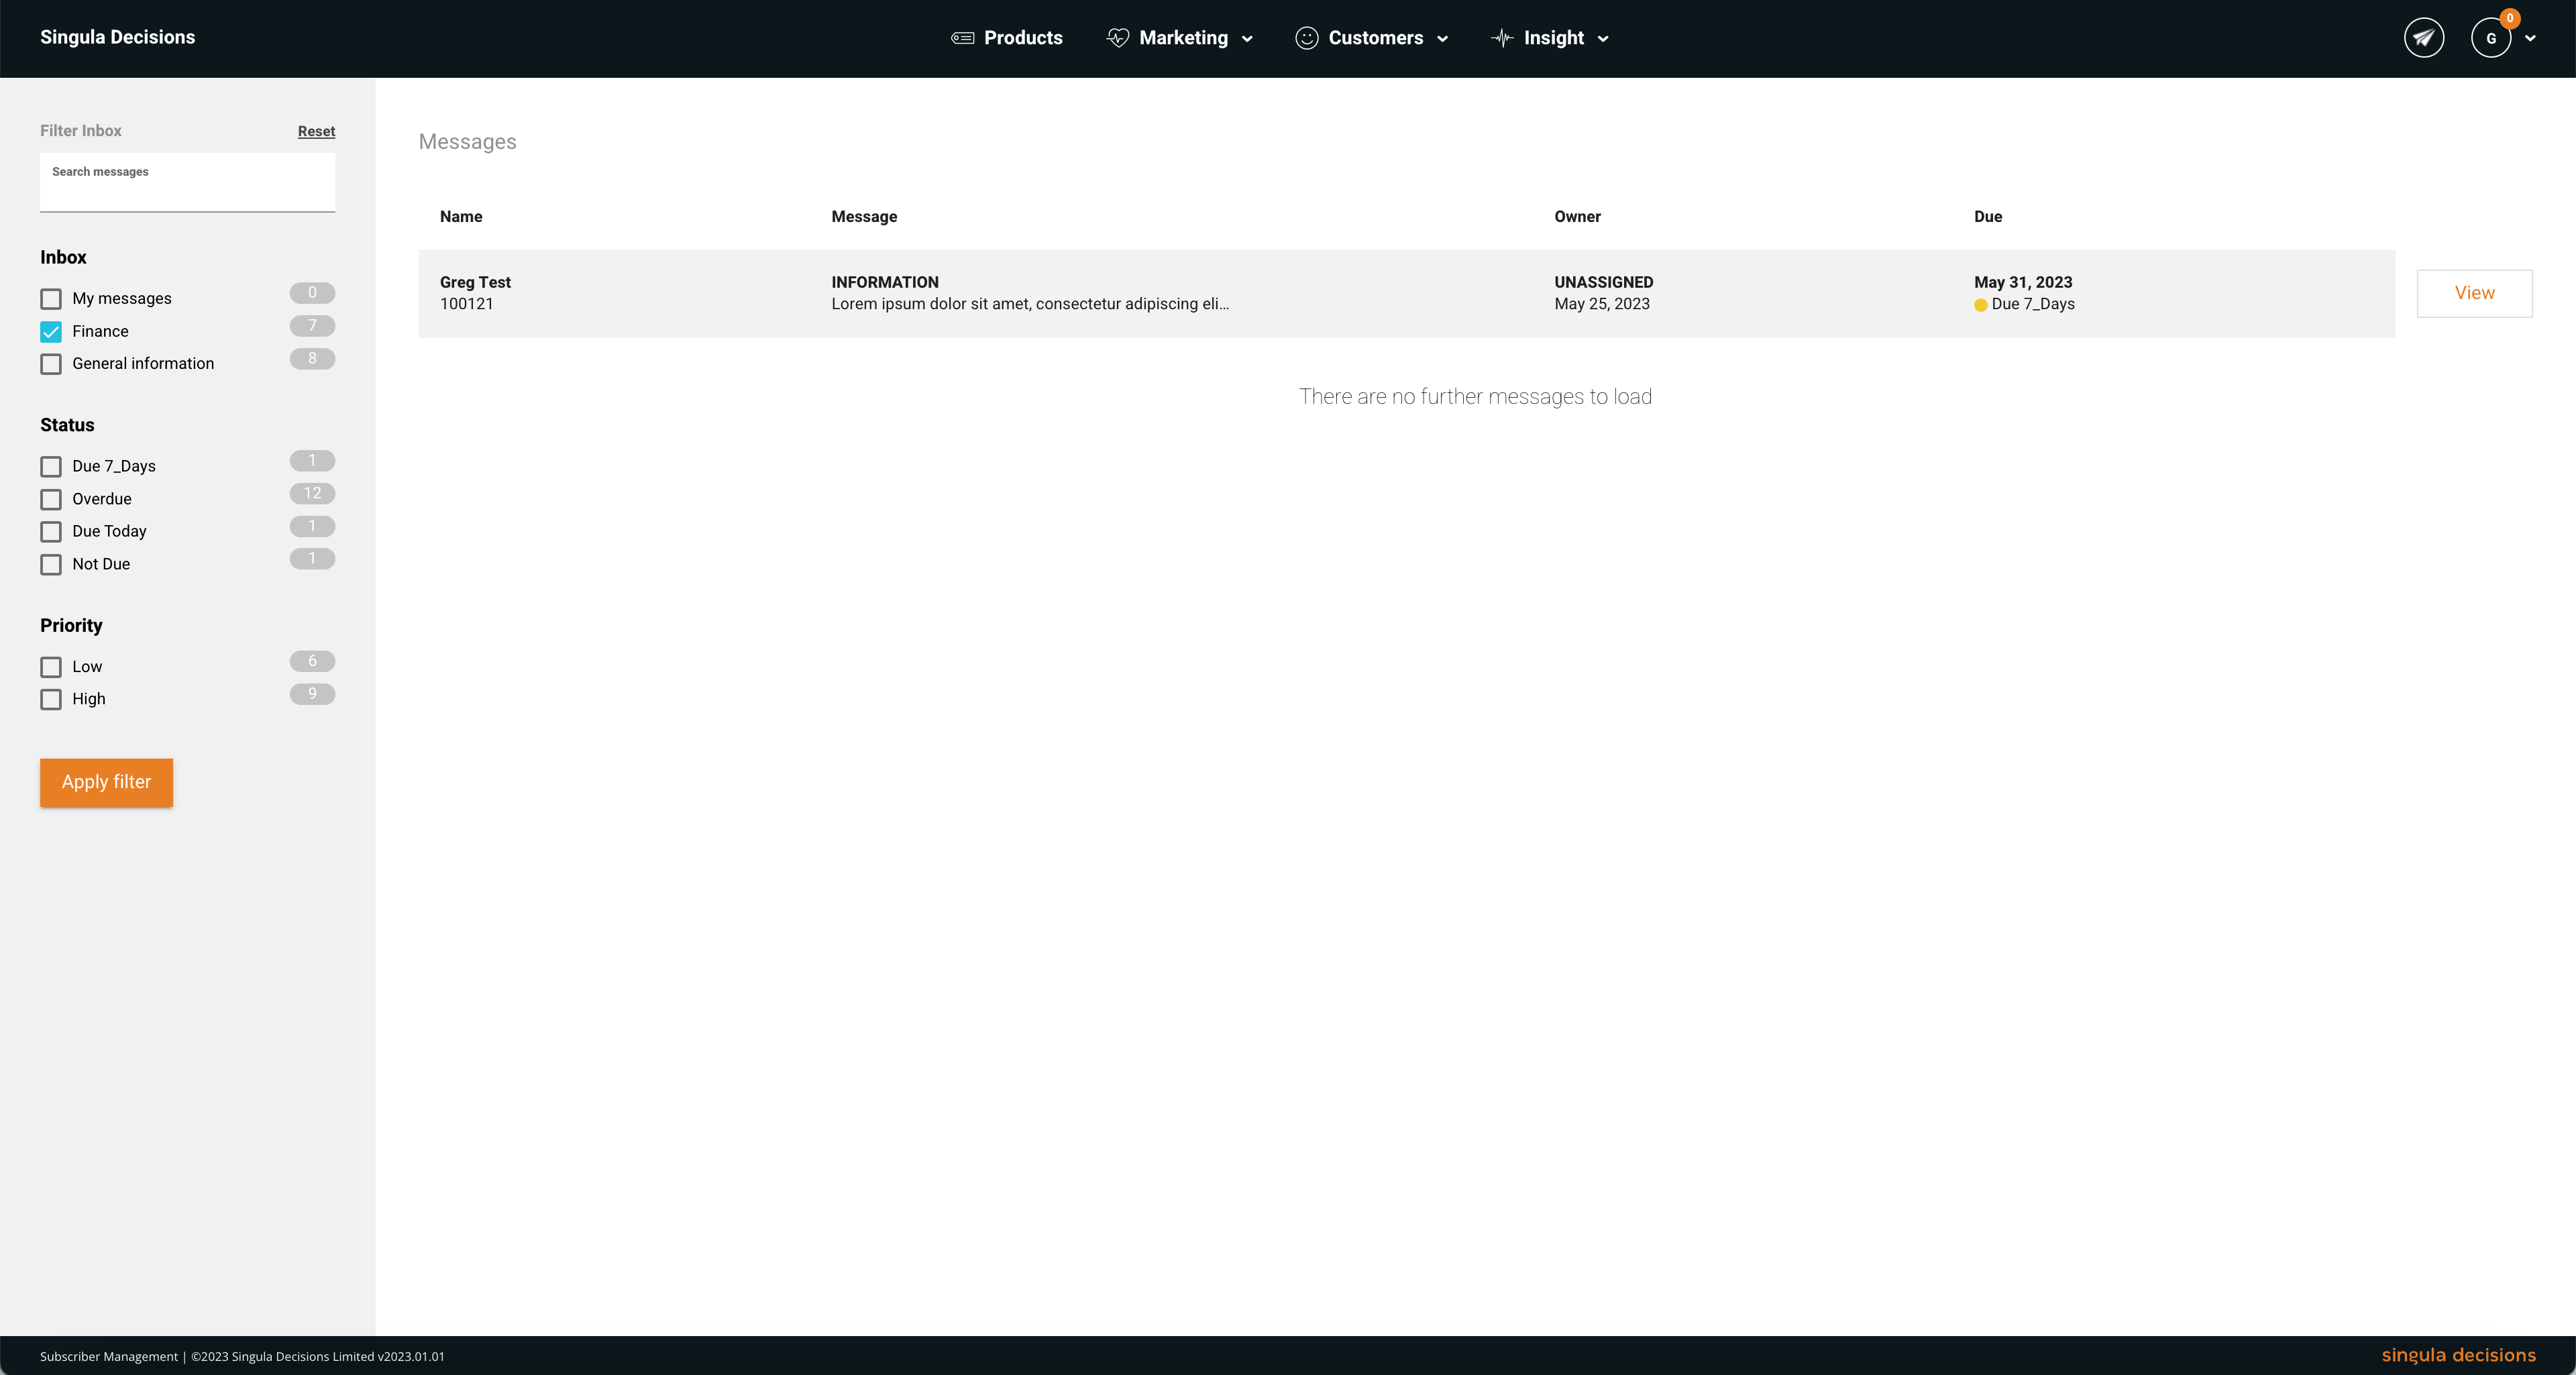
View an inbox message
- Once you are viewing the messages page, select the 'View' option next to the message you wish to view.
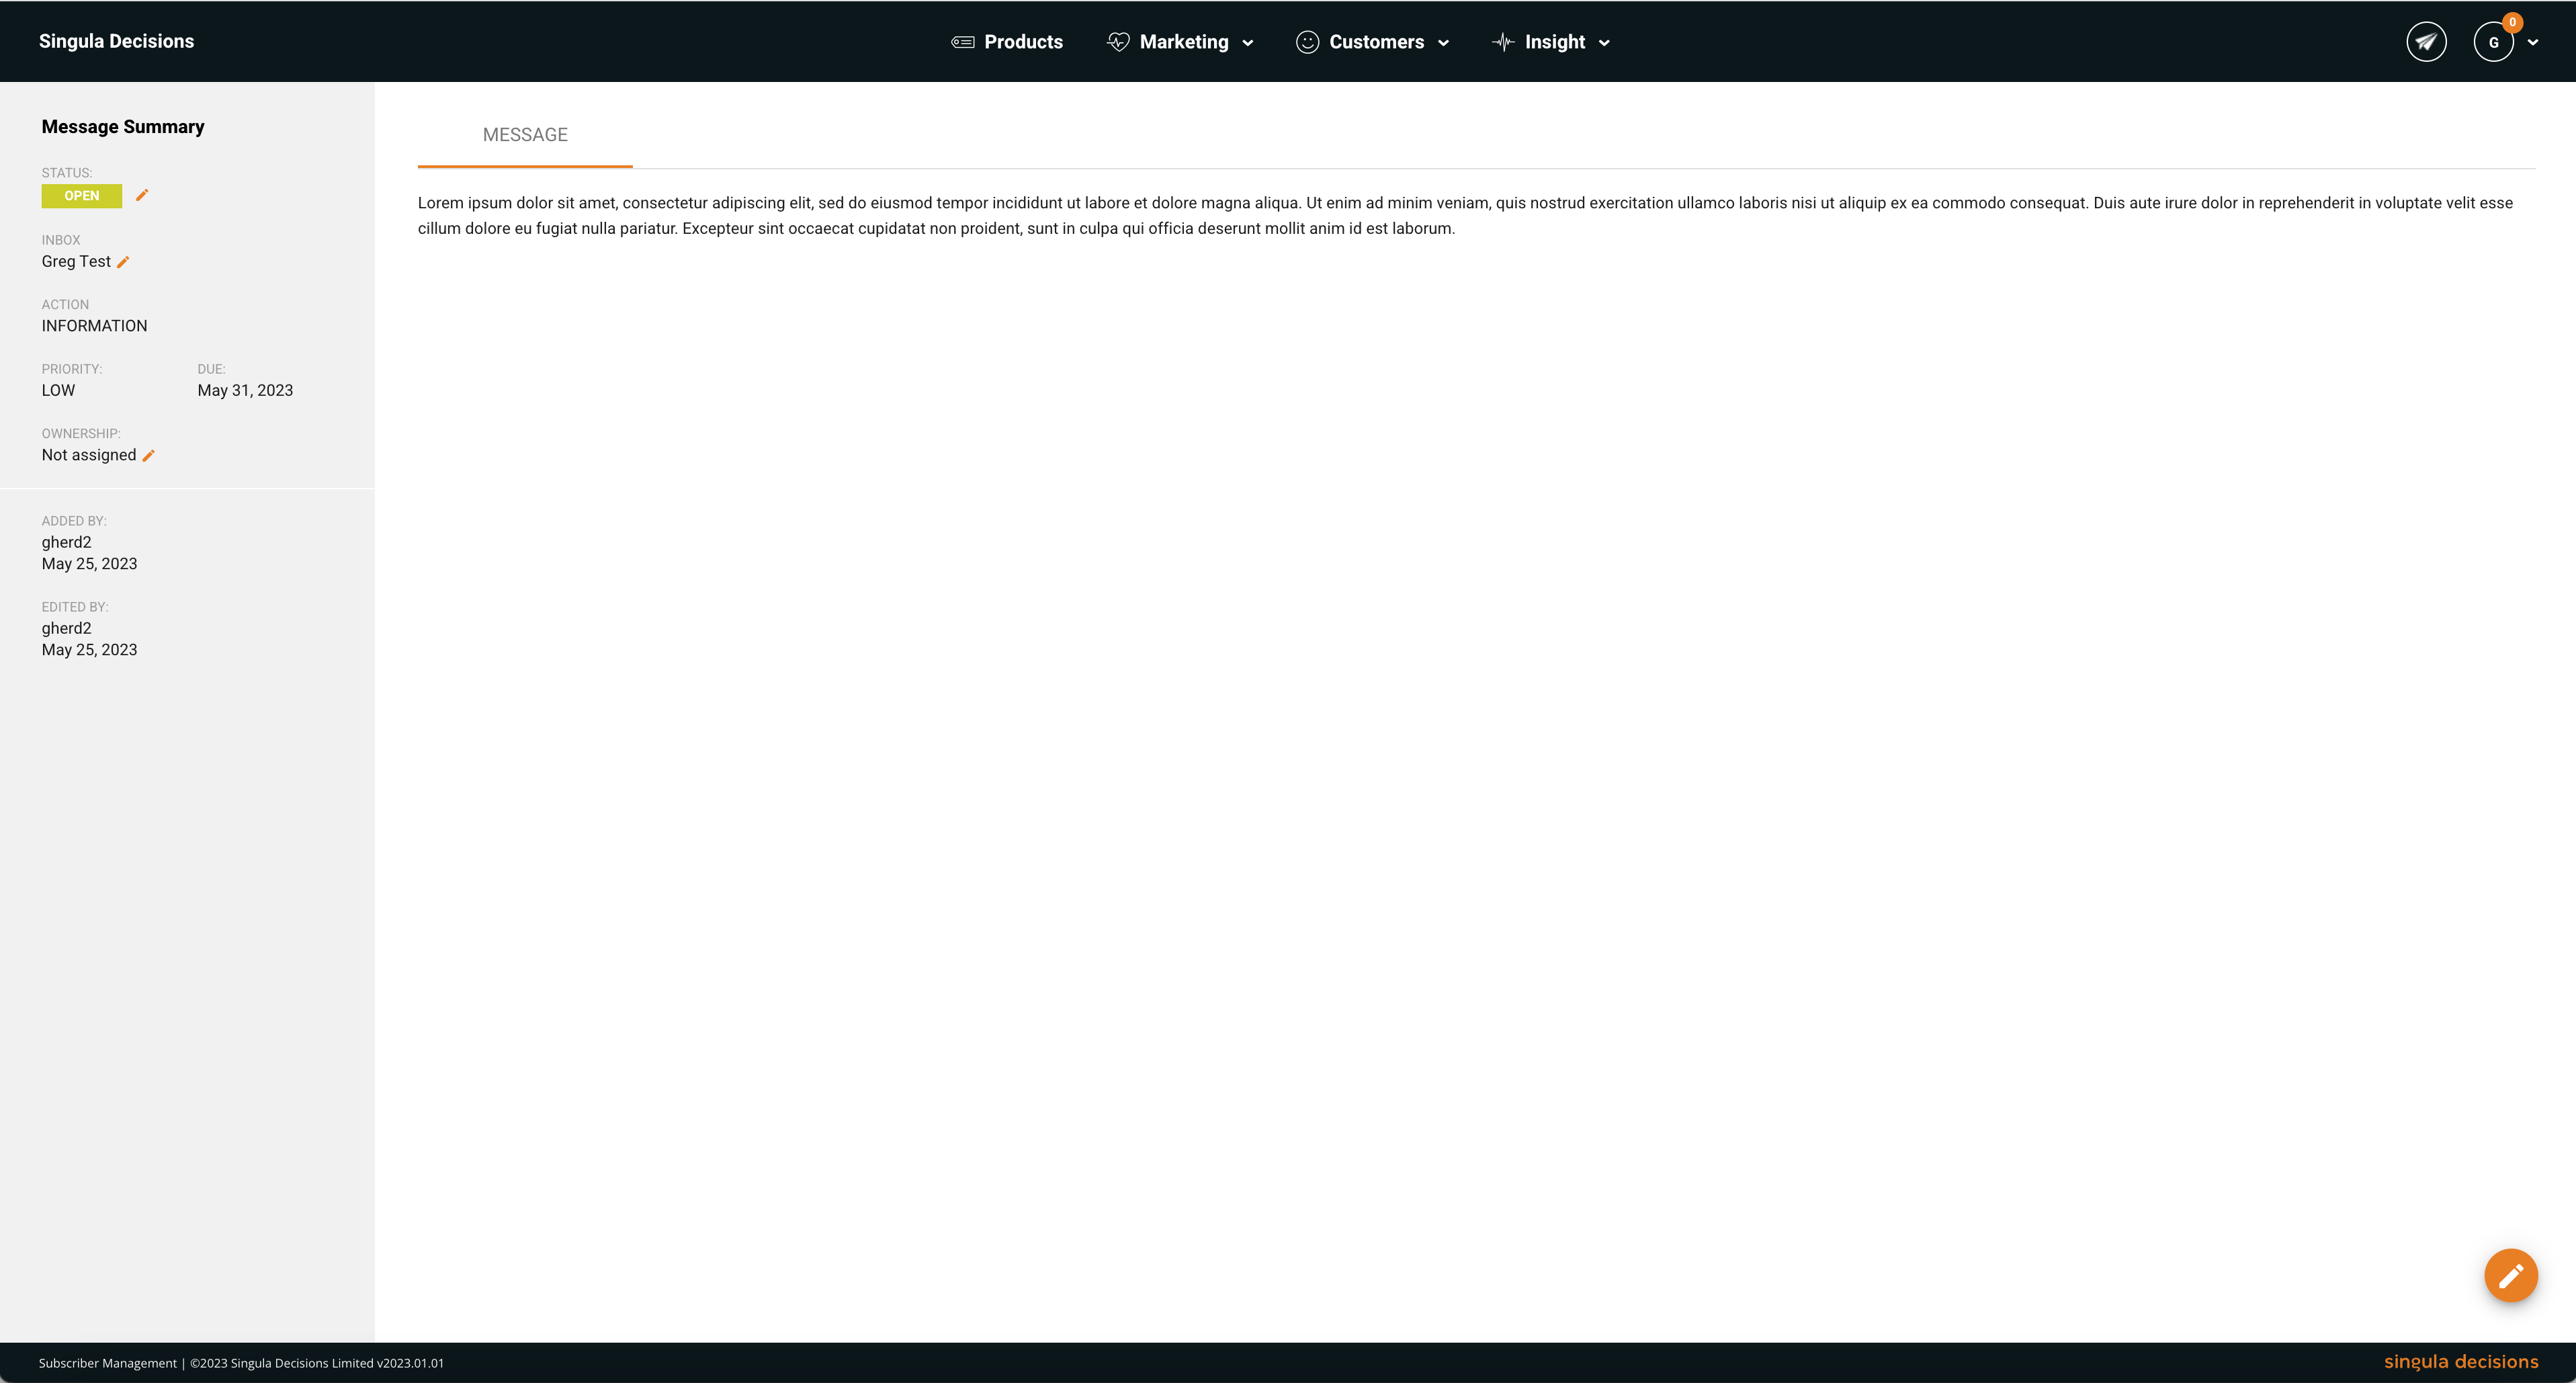
- When displayed, in addition to the message you will see a message summary which includes: the message status (open or closed), the assigned inbox, the action required, the priority, the date a resolution is required, the current owner of the message and creation dates.
Change ownership
- Select the pencil icon to edit the message
- Select the 'Ownership' option
- Select a user from the available options. Alternatively, you can quickly assign to yourself by selecting the 'Assign to me' option
- Select 'Save' to confirm the change
Remove ownership
- Select the pencil icon to edit the message
- Select the 'Ownership' option
- Select 'Remove ownership'
- You will be asked to confirm the change
Forward message
- Select the pencil icon to edit the message
- Select the 'Forward' option
- Select an inbox from the available options
- Select 'Forward message' to send the message on
Change status
- Select the pencil icon to edit the message
- Select the 'message status' option
- Select a status from the available options
- Select 'Save status' to confirm the change
Updated about 1 year ago
Did this page help you?