Inboxes
Inboxes are used to handle Cases. System Users can be assigned to Inboxes such as ‘Finance’, ‘Customer Service’ or ‘Technical’.
Cases can then be assigned to an Inbox where a User may take ownership and ‘handle’ the Case eg a Finance User might take ownership of a Case in the Finance Inbox that had been raised where a Customer had complained about poor video quality.
Applies to roles:
System Administrator System Administrator (NO CRM)Note: Only the Administrator Role and Contact Centre Supervisor Role can create inboxes and manage inbox users.
To create a new Inbox:

- In the Customer Search screen click ’View Inbox’:
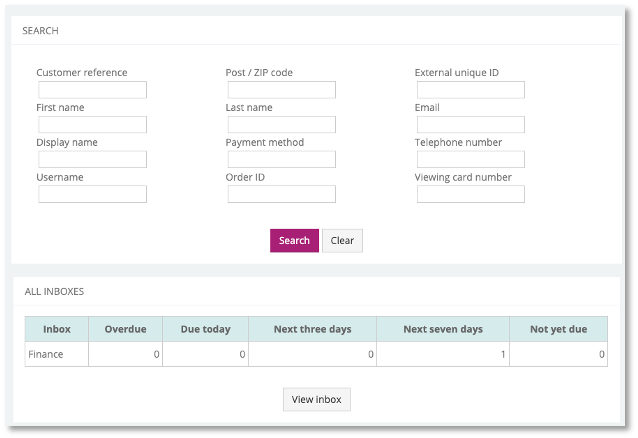
The Inboxing screen will appear:
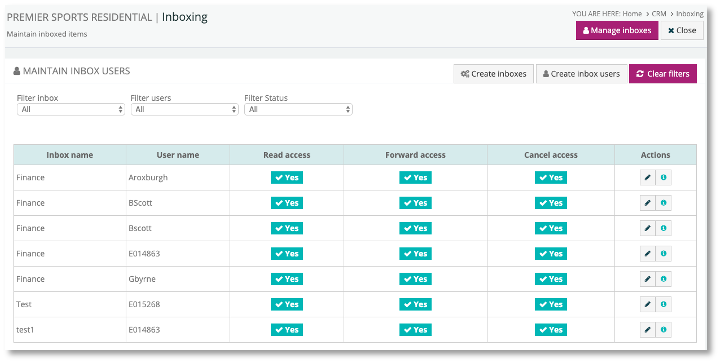
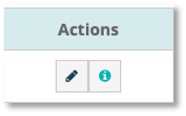
You can update users access for inboxes they are assigned to by clicking the ‘pen’ icon alongside the Inbox in the table of Inboxes:
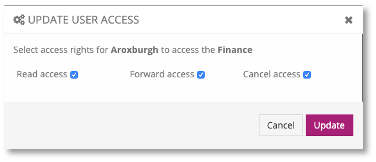
Then make any changes to access rights and click ‘Update’:
- Click Manage inboxes button or the Create inboxes button

- A Create new inbox window will appear, enter the Inbox Name and Inbox Description, then click ‘Create Inbox’:
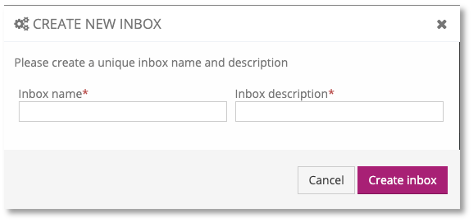
- The New inbox has now been created. The next step is to create Inbox Users so that the inbox can be managed accordingly. Click ‘Create Inbox users”:

- A Create new inbox users window will appear, choose the Inbox Name you want to add a user to and then add Inbox User from the populated list. Tick the User rights to the inbox from the 3 options (Read, Forward and Cancel) and then select ‘Create inbox user’:
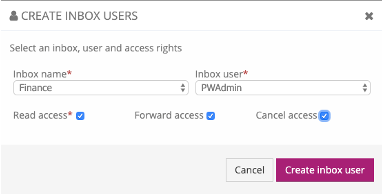
A success message will appear showing the Inbox is now associated with the user.
You can add more Users to inboxes from the same window using the same process as above:
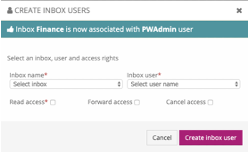
On the Maintain Inboxes Screen, you will then see the new Inbox summary and can manage the inbox and actions from there:

Updated 9 months ago
