Email templates
View email templates
- Select Settings
- Select Email Templates
All templates will be displayed along with the option to filter to only view the active or disabled ones.
One active template for each triggerWhen you create an email template you can only have one active email template for each trigger.
Creating an email template
- Select Settings
- Select Email Templates
- Select New Template
Email template details
4. Enter the Template name
5. Enter the Template description
6. Choose the trigger for this template
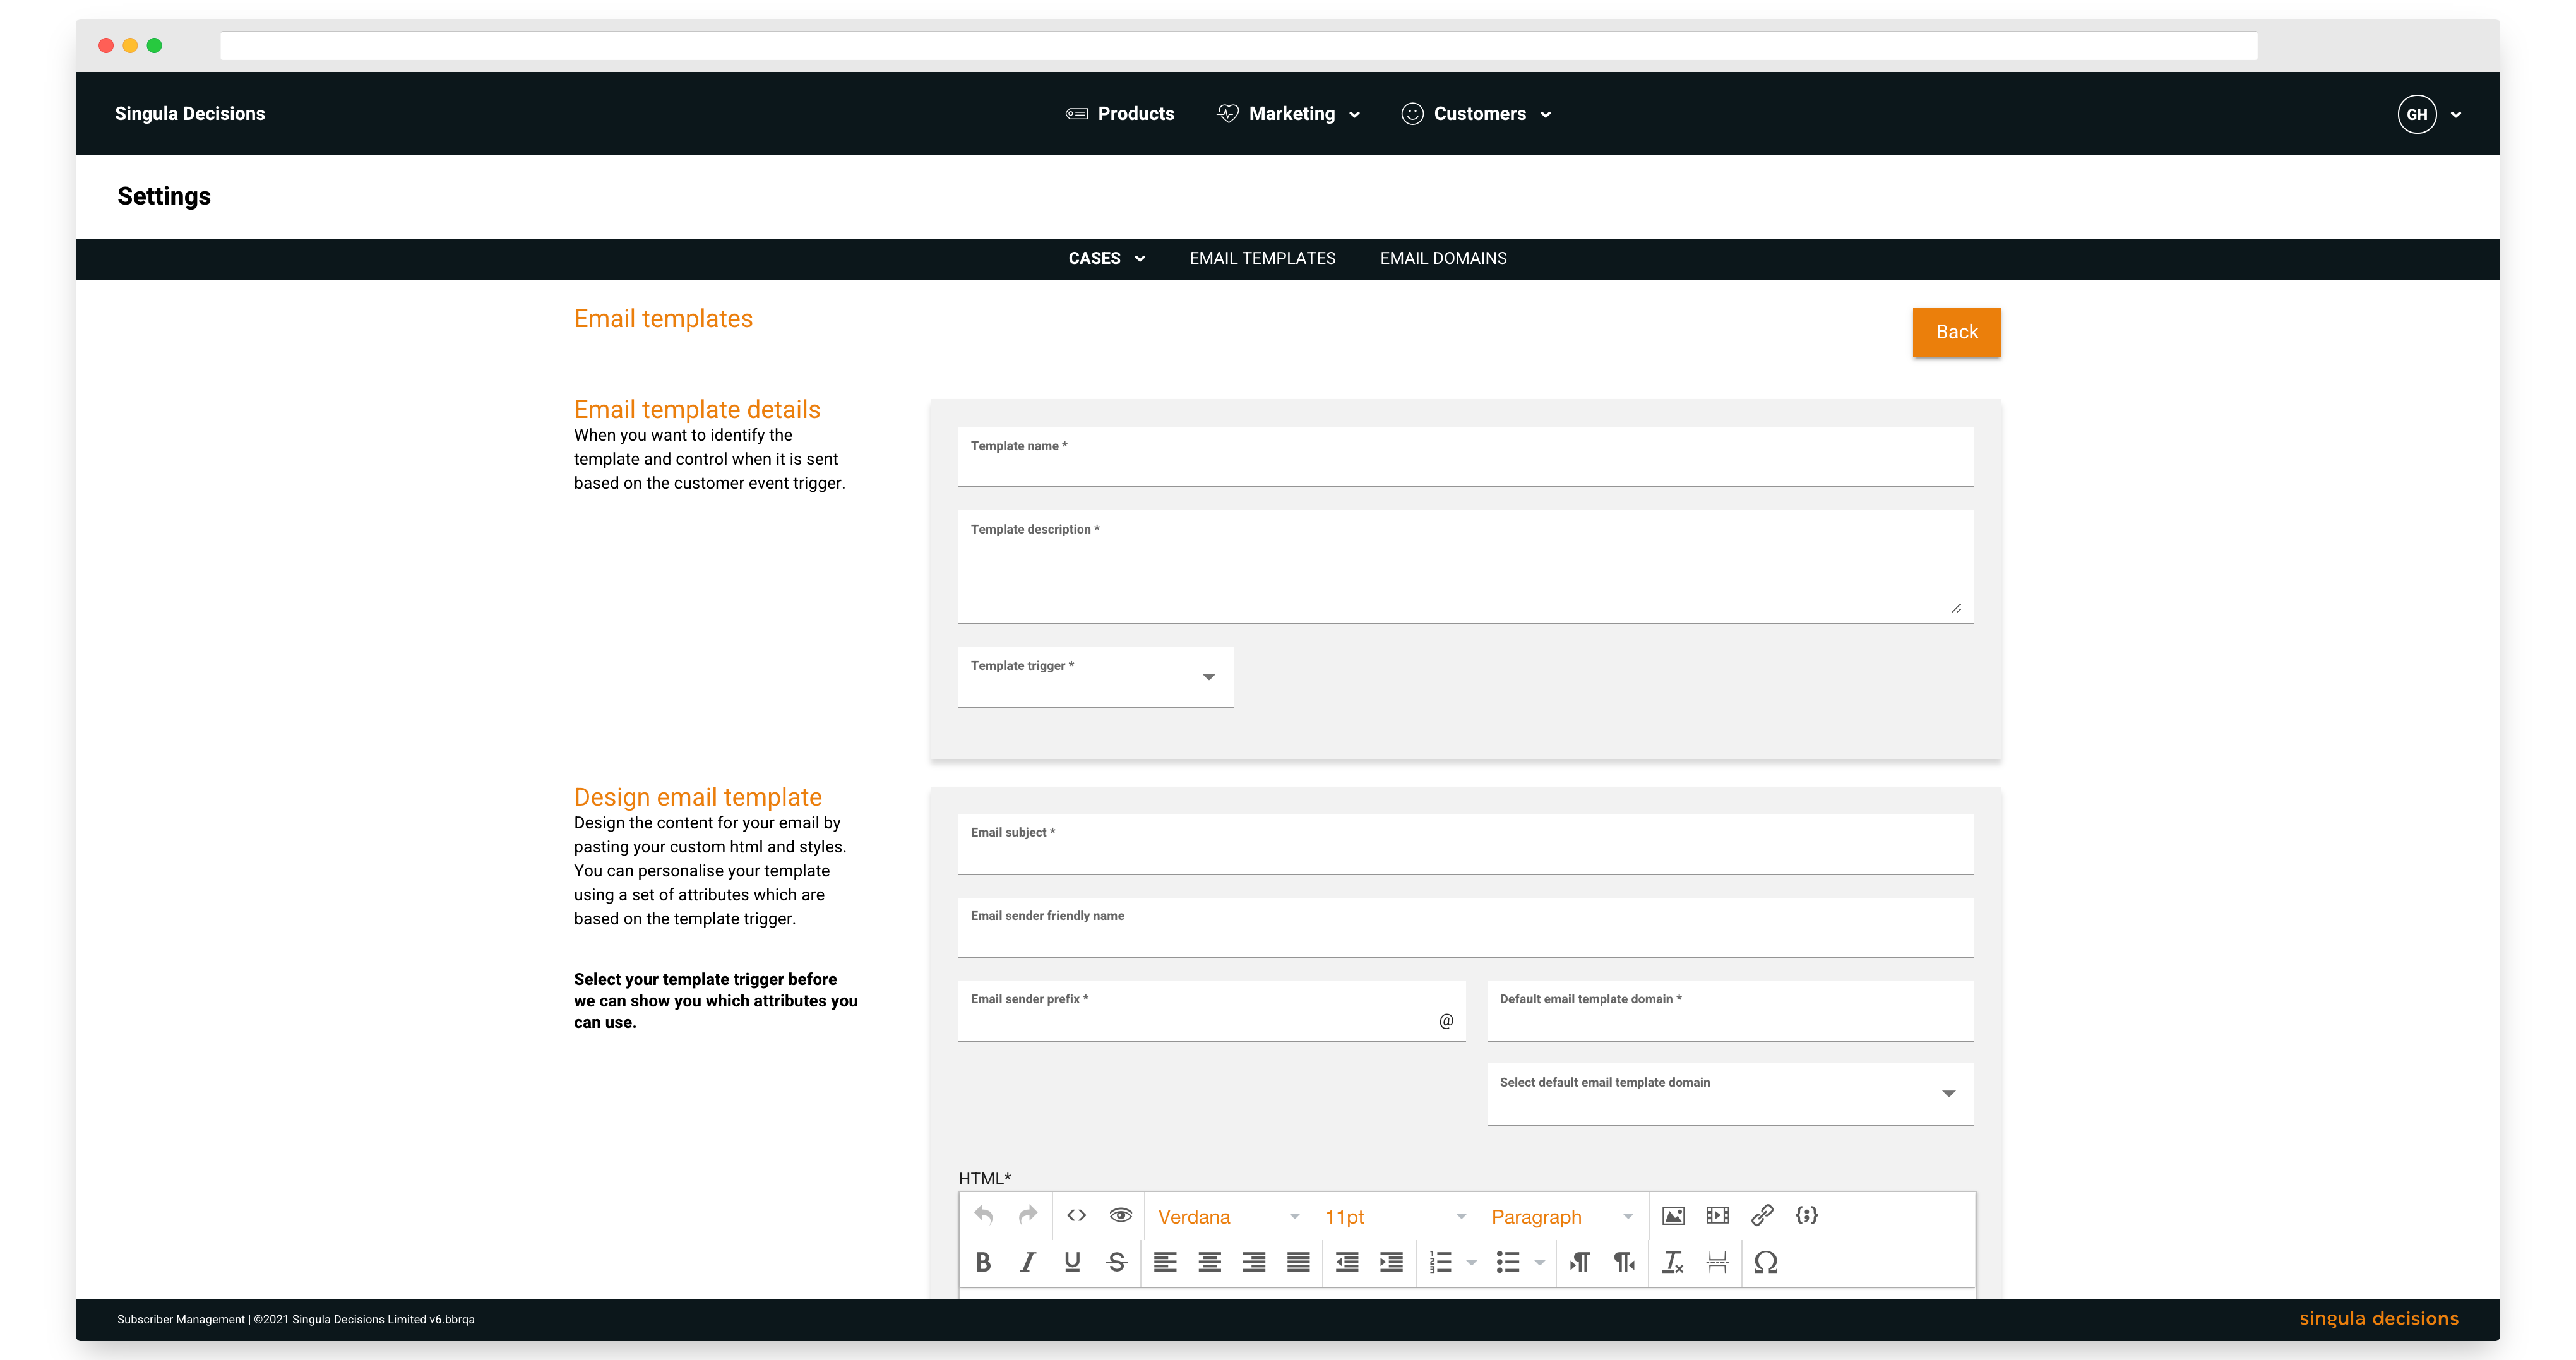
Design email template
4. Enter the Email subject - this is the subject of the email that will be sent to your customer
5. Enter the Friendly sender name - this is optional and if used you can add a name to the sender as opposed to just a default 'no reply'
6. Enter the Email prefix and choose the email domain
The 'email template domain' can be set to a specific country manually within this drop down. By default, Email Templates will identify the customer's country through their registered address and default to that country if it has been setup (see Email Domains). If their country is not available in the list, then the default email template domain will be used.
- Design your email using the HTML editor. You can also paste your HTML a code editor.
You can personalise your template using a set of attributes populated on the left which are based on the template trigger.
Adding undocumented attributes to your Email TemplateYou can add attributes that do not appear on the left-hand side or with the default trigger attributes.
To do this, you have to extract the attribute from the Event Stream and then once formatted include it in the plain text section of your Email Template.
The Event stream for “eventType”:“SERVICE_CHECKOUT_SUCCESS” has additional attributes such as Username or Masked PAN, which are not included in the email template for Successful Purchase. You can however add this manually to your template.
- Simply find the event from the Event Stream
- Format this using a JSON formatter (use hierarchy notation to expose the data not shown in template)
- Locate and copy the Username or Masked PAN attribute text, using JSON hierarchy
- Add the Username or Masked PAN attribute text to your template within the plain text section
Once you have saved the changes this, the Username or Masked PAN will appear on all Successful Purchase emails.
- Add your Plain Text version - this can be copied from the HTML version
Test your email template
We recommend testing your email before sending to any of your customers.
Note: It will use default data setup for each email template type but take the layout of the current email template you are editing.
- Choose the Test email type from the drop down
- Enter your recipient's email address and then select Send Test Email
Email availability
11. This is set to enabled by default however, if you want to disable it to use at a later date, select Template disabled
12. Select 'Save' to create the email template
Edit an email template
- Select Settings
- Select Email Templates
- Choose the template you want to edit
Updated 6 months ago